Setting up Pi-hole as an ad blocker
Under thirty minutes from a blank SD card to a network-wide ad blocker on a Raspberry Pi, with the screenshots from my own setup.
Wikipedia describes it as:
Pi-hole is a Linux network-level advertisement and Internet tracker blocking application which acts as a DNS sinkhole and optionally a DHCP server, intended for use on a private network. Pi-hole has the ability to block traditional website advertisements as well as advertisements in unconventional places, such as smart TVs and mobile operating system advertisements.
That last part is the reason to bother. An ad blocker in the browser is one thing; a DNS sinkhole in the house blocks the adverts that arrive from a smart TV, a phone app, or anything else you cannot install an extension into.
This is how I set mine up. It took under thirty minutes, most of which was the SD card. The Raspberry Pi Imager is what made that part easy — it configures the card so the Pi comes up on the network ready for SSH.
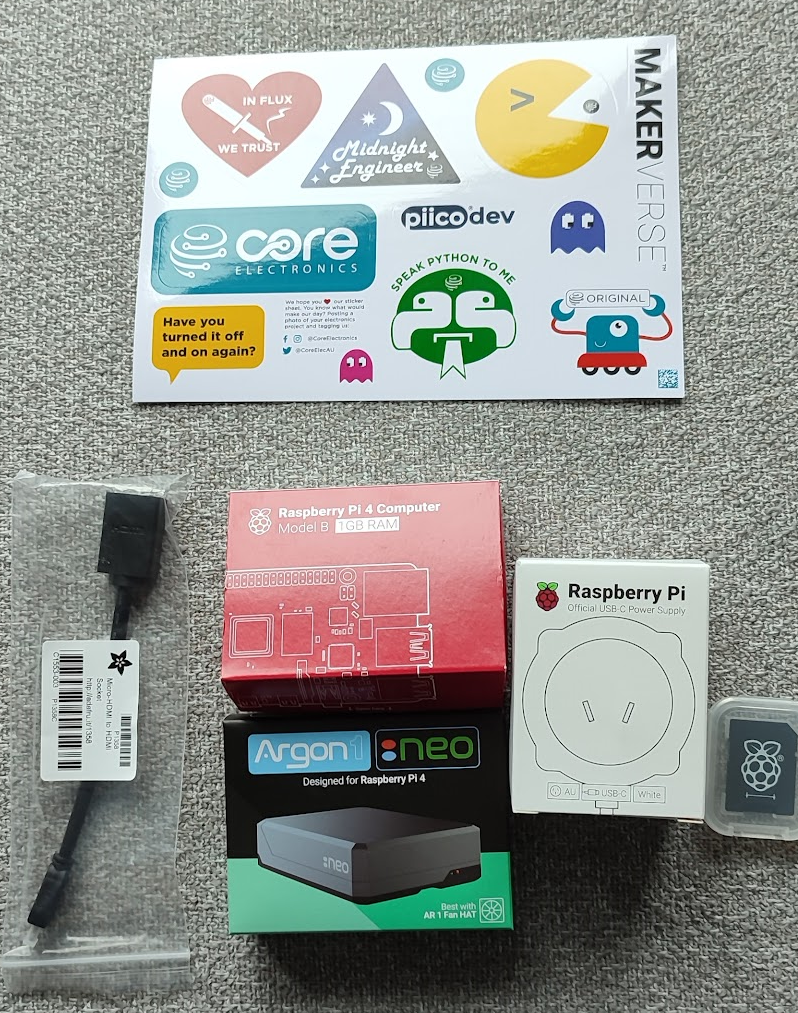
What you need
I bought it all from Core Electronics, whose delivery was quick enough that I have bought from them since. They also included stickers.
- Raspberry Pi 4 Model B, 1 GB
- MicroSD card
- Raspberry Pi 4 power supply
And two things that turned out to be optional:
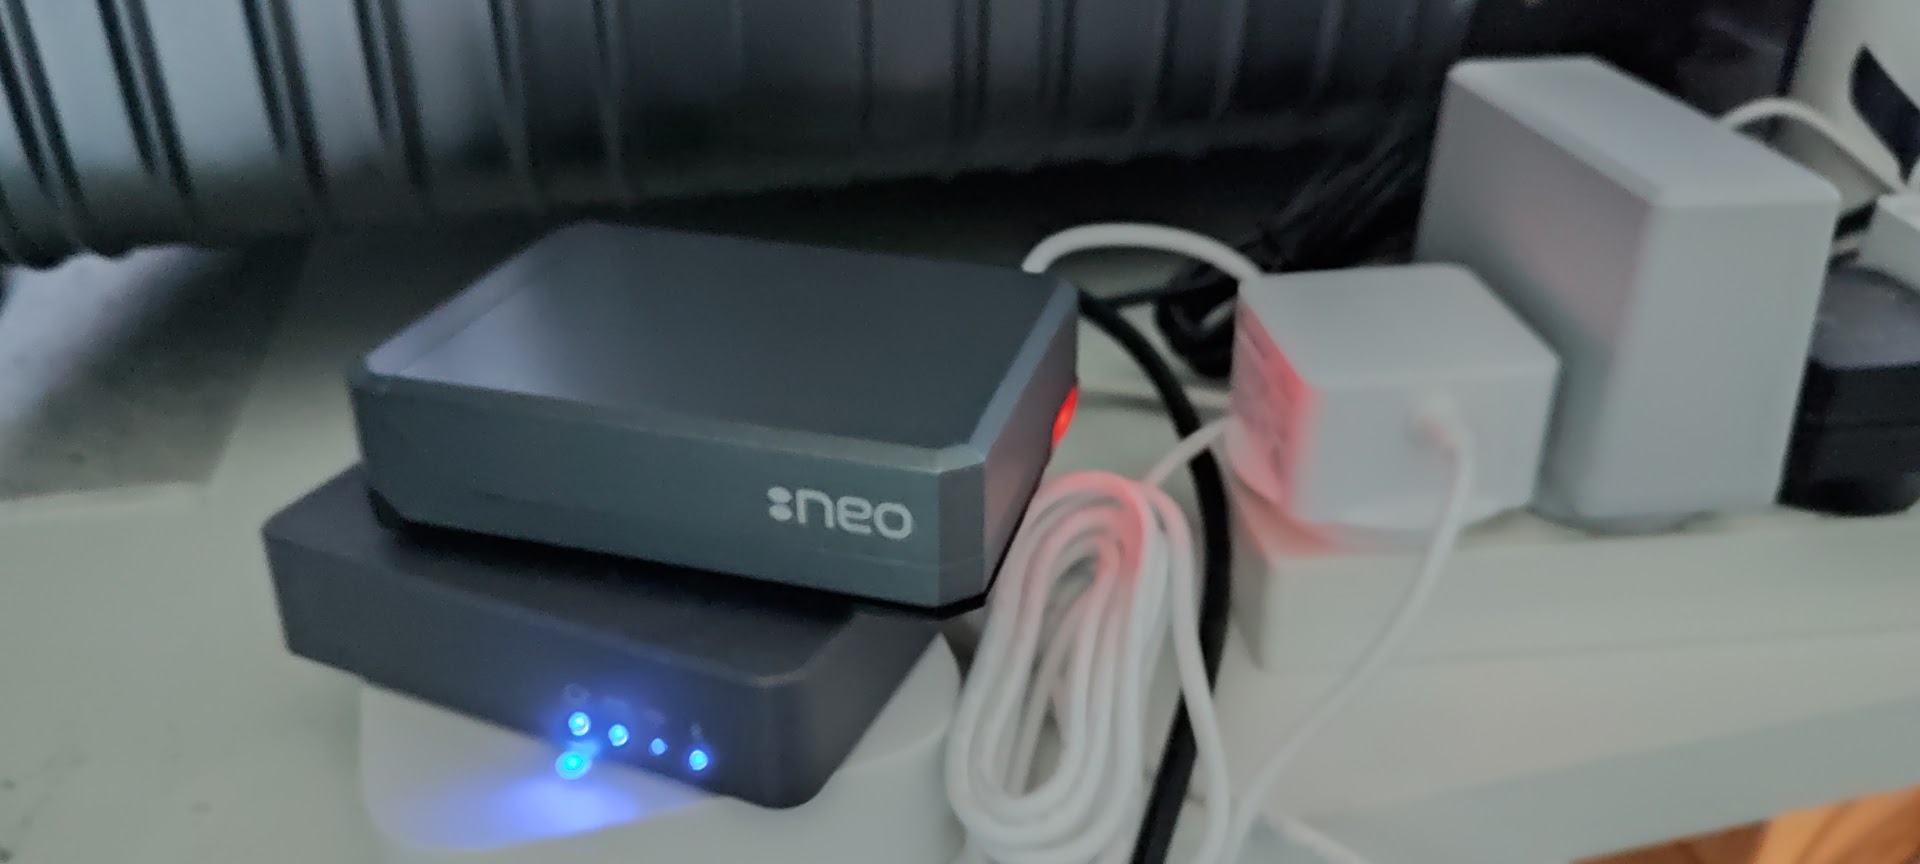
- Argon NEO Raspberry Pi 4 case — used, and worth it
- Micro-HDMI to HDMI adapter cable — never taken out of the packet
The steps
1. Flash the card. Mine arrived with NOOBS on it; I flashed Raspberry Pi OS instead. The Imager makes this a matter of picking the OS and the card.
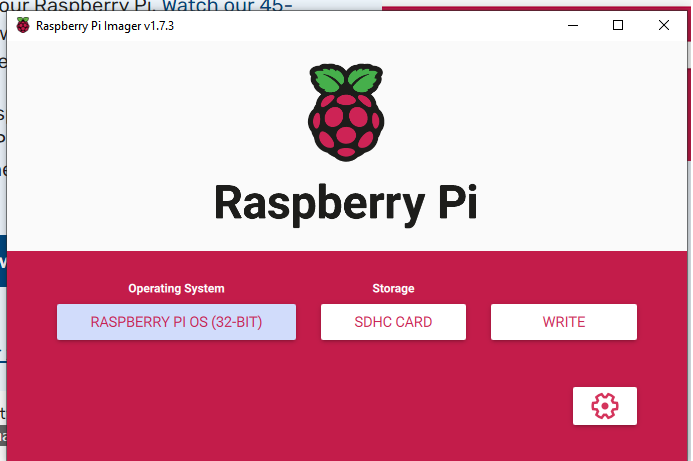
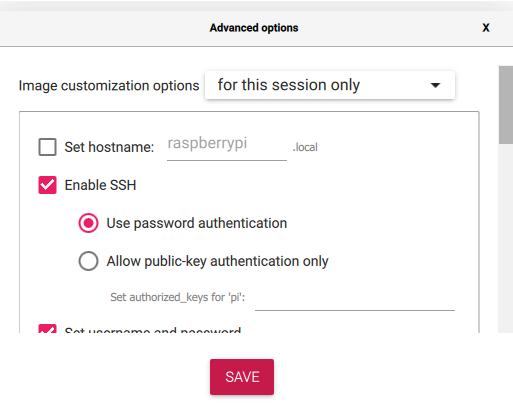
Before writing, open the Advanced options — the gear icon — and set four things:
- Enable SSH
- A username and password
- Wireless LAN details
- Locale settings
Enable SSH is the one that matters. It means the Pi comes up on the network ready to be logged into, with no monitor and no keyboard anywhere near it.
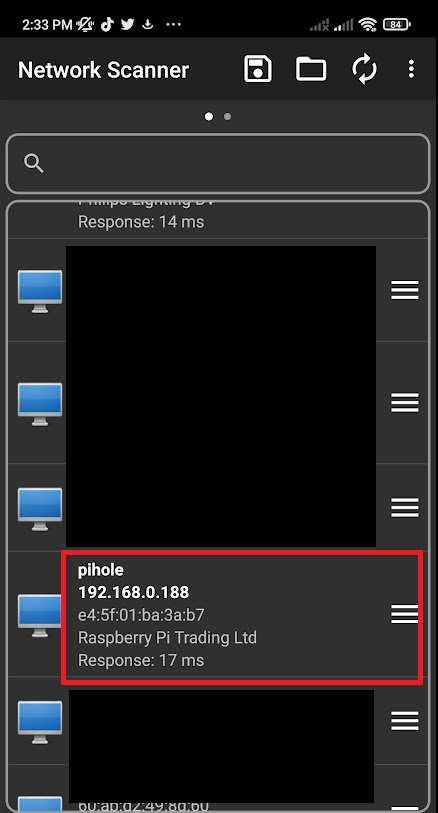
2. Find it on the network. Once the Pi boots you need its address, and there are two ways. Ask the network — arp -a from a shell, or a phone app that scans the LAN, which is what I used:
Or skip the address entirely and use the hostname. The hostname is raspberrypi.local by default, and the mDNS resolver will find it.
3. Connect with PuTTY. Either the address or the hostname works.
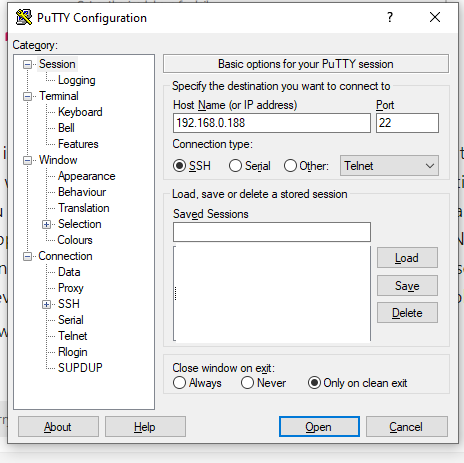
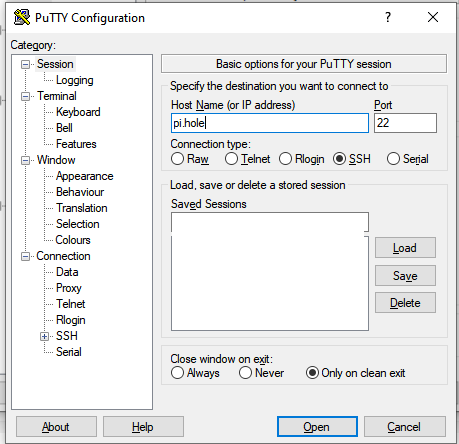
Worth noticing, since these two screenshots do not agree: the scanner found the Pi at .188 and the saved PuTTY session was .189. DHCP had handed out a different address by the time I got here. Using the hostname avoids the problem; giving the Pi a static address solves it, which is step 6.
4. Log in. The username and password from the advanced options.
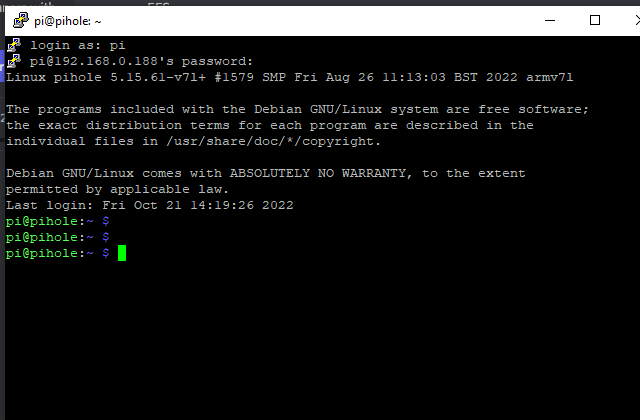
5. Install Pi-hole. The one-step automated install is genuinely one step. The only thing it asks that needs a decision is the static address.
6. Give it a static address if you were asked for one — this guide covers it. It matters more than it sounds: a DNS server whose address moves is a DNS server your house stops using.
7. Point your devices at it. Either each device, or the router. I changed my own devices only: setting it on the router would have pushed my network choices onto my housemates, who did not ask for them.
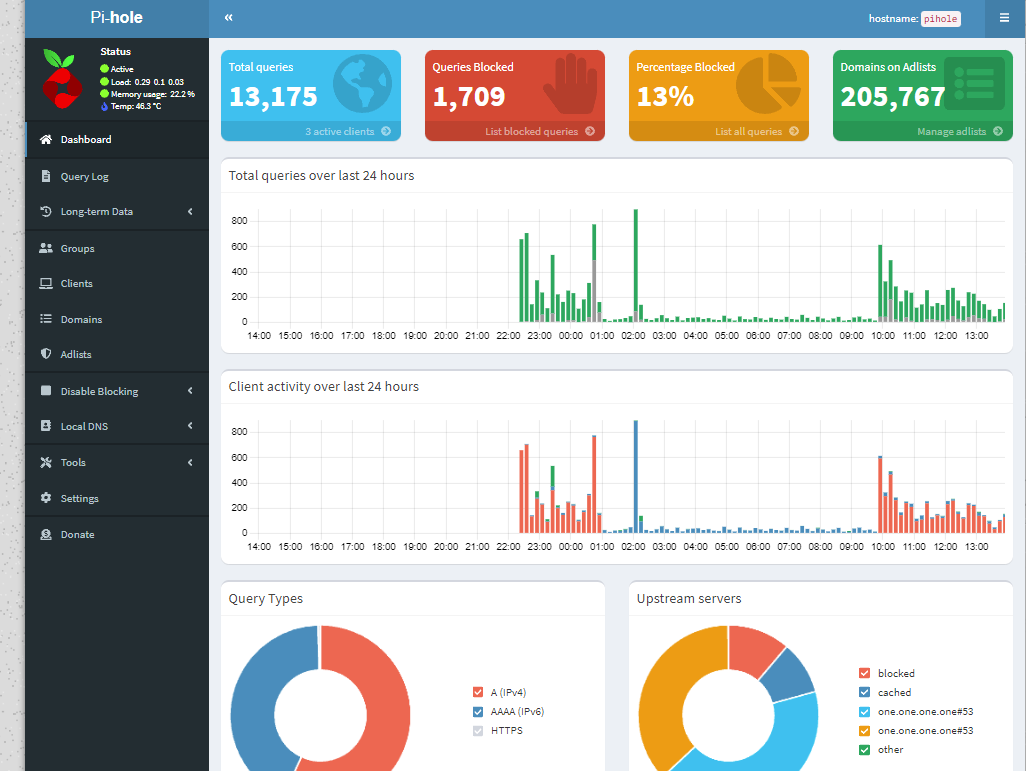
8. Look at the dashboard. Mine, after a day:
9. Add more lists, under Settings → Adlists:
https://raw.githubusercontent.com/kboghdady/youTube_ads_4_pi-hole/master/youtubelist.txtfor YouTube advertshttps://blocklistproject.github.io/Lists/tracking.txtfor trackers
Then go to Tools → Update Gravity to pull them in. Adding a list without updating gravity adds nothing at all.
Was it worth it
Setting up a Raspberry Pi has become easy, and most of the credit goes to the Imager. The step that used to be the barrier — enabling SSH, configuring wireless, setting a locale — used to need a monitor, a keyboard and a mouse plugged into the Pi for the first boot. Now it is four checkboxes before you write the card.
Two honest caveats. Under thirty minutes is the setup, not the maintenance: a Pi that serves DNS for the whole house is a machine that has to keep running. And Pi-hole is not a substitute for the ad blocker in your browser — extension blockers see the page and can act on it; a DNS sinkhole sees only the request. Run both.
Comments
Discussion lives on GitHub — you'll need a GitHub account to post.